Making a fibreglass model boat hull from a Timber Plug
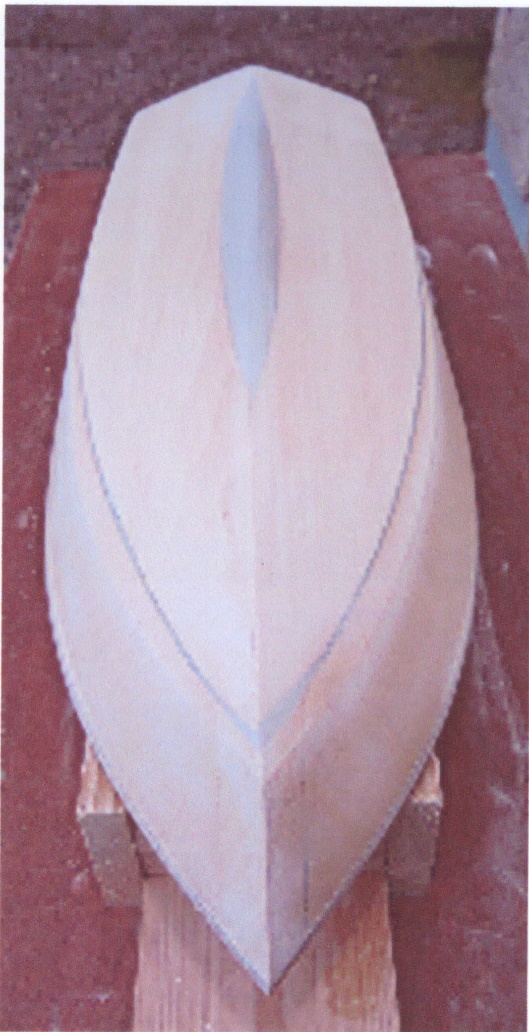
Model Yacht and Model Motorboat wooden Hulls. (PLUGS) Two feet long by eight inches wide
The model yacht, or in this case what is going to be our mould former, (sometimes referred to as the plug) can be carved from timber, foam, or CNC board. In this guide we are using timber which is the old traditional method of plug making. Once you have your plugs carved to shape and all screw holes counter sunk you will need to fill all the low areas and screw holes with filler such as our EC42 easy sand filler. Once cured apply a coat of sand and seal varnish and when dry lightly sand with a fine sandpaper.
Next job is to apply Durabuild surface primer which can be thinned with Durabuild thinners for spray application or brushed on in thin coats. Durabuild surface primer is highly recommended. Avoid using car primers as these tend to soften due to the solvent content in the release agents and gelcoats that will be applied next.
Plug with Durabuild applied
Build up the Durabuild layers to produce a hard smooth sealed surface. Then rub down with 1200 grit Wet & Dry paper to produce a smooth surface. Then wet and dry the Durabuild, making your way up to a 1200 grit finish. You can also polish further with Farecla Select to bring the Durabuild to a high shine if required to show up any imperfections on the plugs surface. Mount the plug to a melamine base board which will help form return flanges on your mould and give the mould extra rigidity and stability against warping.
The next job is to apply PVA Gloss Release Agent to plug and the base board. This product is a very watery liquid and is very difficult to apply with a brush or sponge without leaving runs or streaks. The best way to apply PVA release agent is by spraying a number mist coats allowing each coat to almost dry before spraying another coat this avoid runs. When the surface is completely covered leave to dry.
The below image shows the plug sprayed with PVA release agent.. The PVA release can be difficult to see against the dark grey durabuild but we have lightened the below pic to give you an idea what level of coating you will require from the PVA. You want a good bold blue gloss finish on the surface. For best result apply by spray usually approx. 10 coats try not to overspray otherwise the PVA will run, you only need a light mist coat each time.
If applying by brush use a foam brush and apply 4-5 coats letting each one dry and apply the secondary coats quite quickly so they don’t have time to dissolve the first coats.
Plug coated with PVA blue gloss release agent.
When the PVA release agent has completely dried, lightly wax on top of the PVA release agent. You can use a washing up sponge to apply. Apply TR mould release wax, buffing the wax off before it dries. Applying wax on top of the PVA is not always necessary but does help towards release without having to apply too much force.
Do not let the wax dry before buffing off.
Gelcoat applied on top of the PVA
The next job is to apply Gel-Coat on top of the PVA release agent.
Applying Gel-Coat with a brush requires practise. Gel-Coat is not like paint: it is thicker than paint and doesn't flow like paint. When the plug is covered, leave to dry and then apply a second coat covering any areas that the first coat missed. Remember to gelcoat the base board too as this will be your moulds flange and you will be fibreglassing this area also.
Recommended temperature for working environment is between 15° - 25° sometimes this temperature is hard to obtain in the winter if your workshop, shed or garage is not heated. It has been known for some customers to create a curing box which is ideal for curing your laminates.
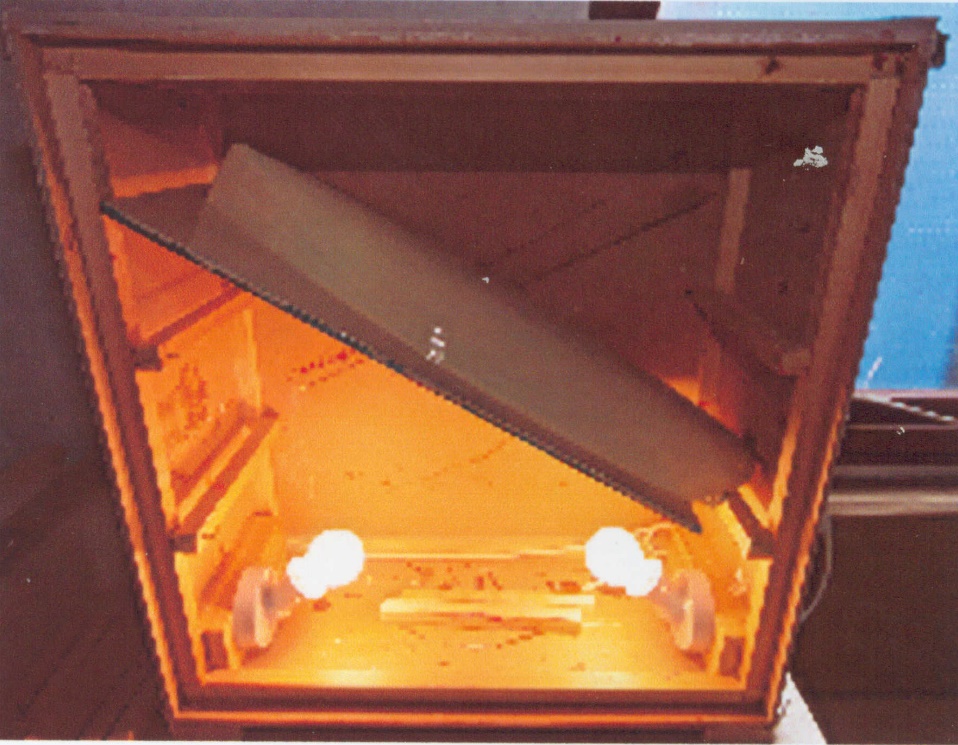
Curing Box. A clear door or clear lid should be installed to keep the heat in
You can make a curing box. Usually these are heated by one or two electric 40-watt light bulbs, or even a heat matt like the ones used for reptile vivariums. Make sure it is vented and have a thermometer installed to check the temperature. If the box exceeds 25 deg C then reduce the bubs to maybe 20 watt or add more vents until temperature is more controlled. Ensure this construction is carried out by a qualified electrician. ECF take no responsibility or give any further advice on how these boxes should be constructed so please carry out your own research regarding safe materials to use.
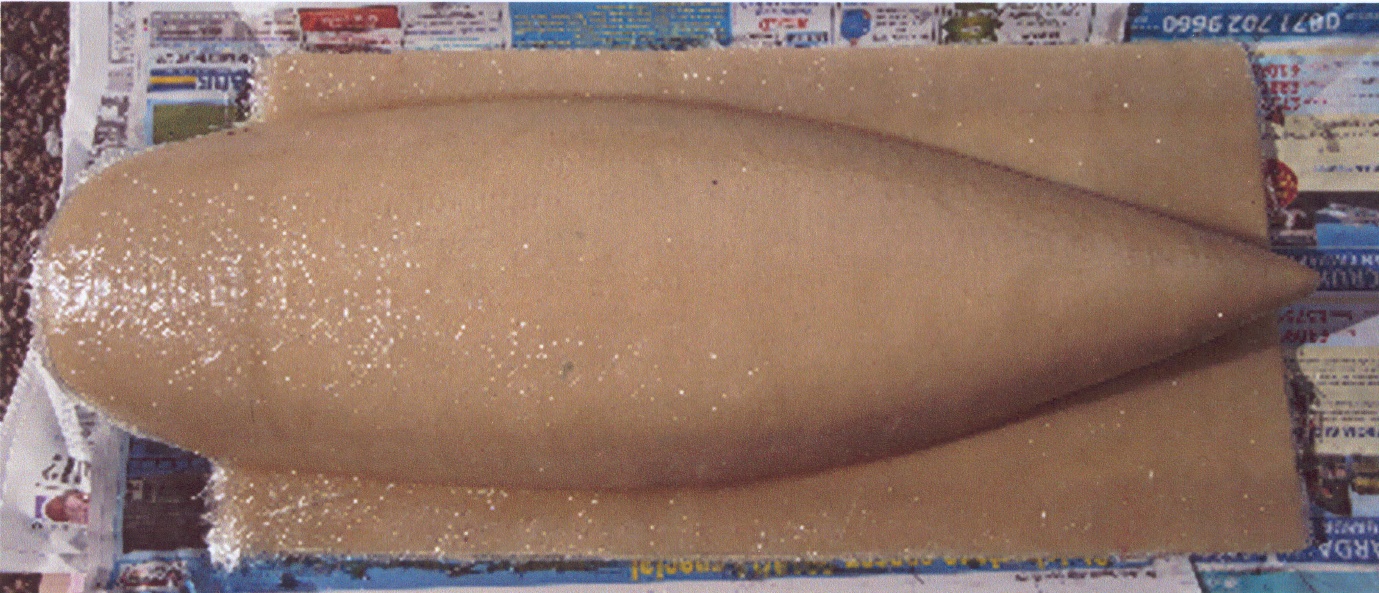
First layer of 300g matting applied over the gelcoat
The next job is to apply one layer of 300g chopped strand and general purpose polyester resin to the plug on top of the gelcoat and totally consolidate to gelcoat using a paddle roller and a disc roller for the corners and leave to cure.
Then lightly sand off any splinters of fibreglass and lightly wipe with acetone.
Then apply the rest of the Chopped Strand layers such as 450g. For reproduction mould you would usually apply 5- 6 layers of 450g, but only apply 3 layers in one go, leave to cure, sand, and apply the rest of the layers. If you exceed 3 layers than you risk the laminate getting hot during the cure cycle which could create distortion in your mould.
Leave to cure for a minim of three to four days. One week if possible. releasing too early could cause shrinkage and warping of the mould.
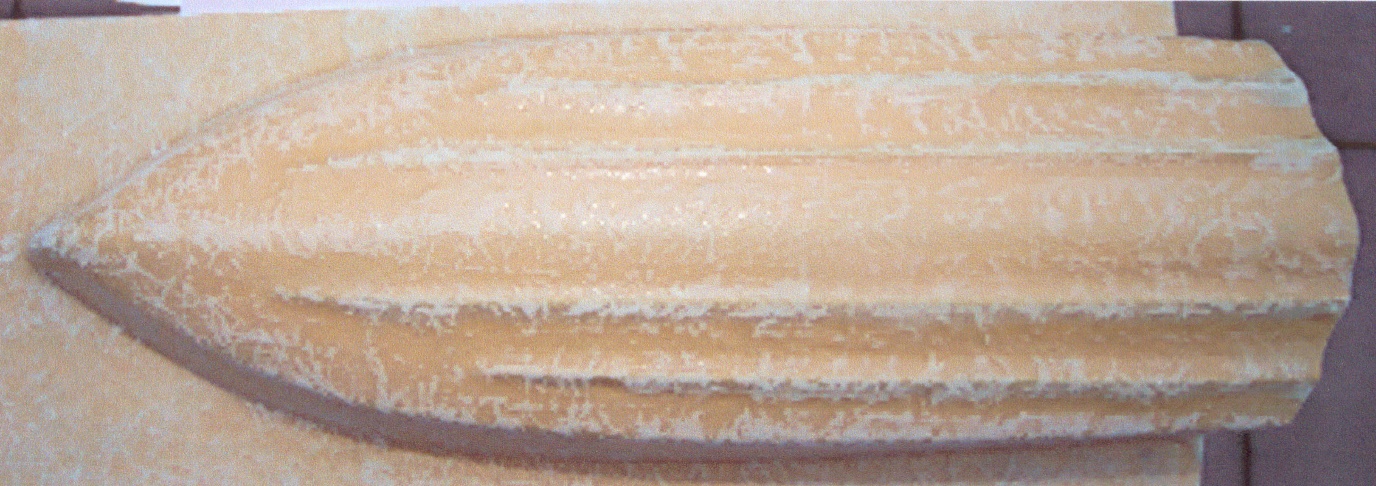
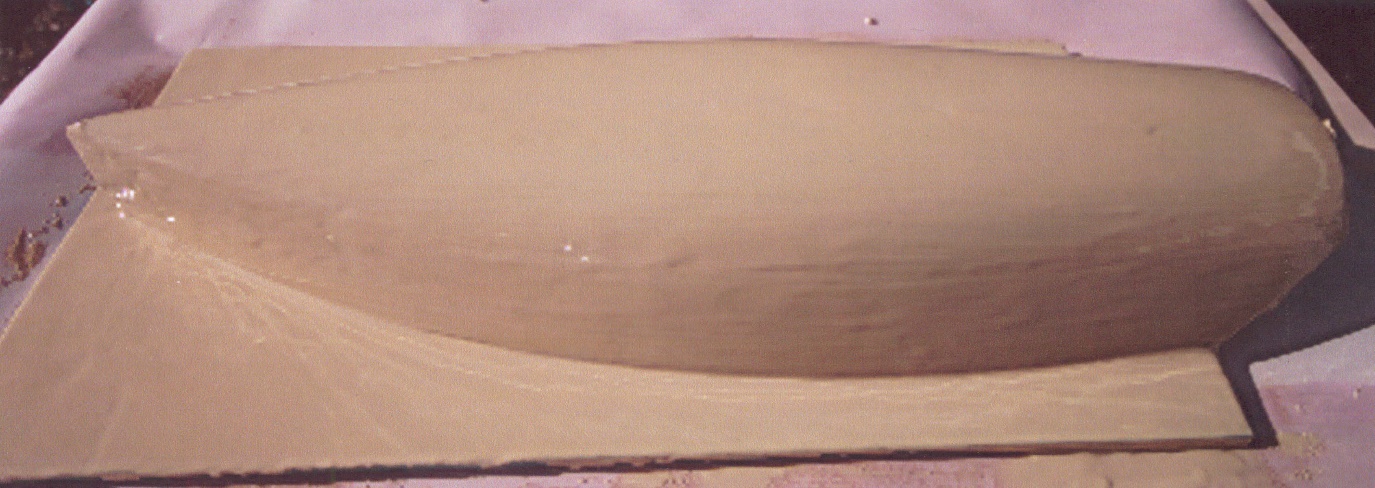
Boat mould with all layers applied, cured and surface sanded.
Once cured over the recommended period of time, remove the mould from the plug and wash off with soapy water any PVA release agent left in mould.
Using a polishing compound such as Farecla Select, polish inside of mould and buff off. However, if there are any imperfections in the mould you may have to wet and dry these out finishing with a 1200 grit before polishing.
Then apply ten coats of TR 108 or TR104 mould release wax, buff straight after each coat, don’t let the wax dry out on the surface. Leave 30-40mins between each buff and application of wax. Then spray or brush inside of mould with PVA release agent. When covered leave to dry. This process is only for the first lift from your mould.
Next stage removing a sacrificial skin of gelcoat and fibreglass.
It is a good idea to lay up inside of mould with gelcoat and one thin 300g layer of chop strand matting and Polyester Resin and as soon as its cured remove this sacrificial layer away from the mould. This helps to break in the mould and ensure that the parts are releasing ok without the risk of a new part being damaged and materials being wasted. If for any reason there is an area where the part sticks to the mould, at least one layer of matting will be easier to tear out than multiple layers which will decrease the amount of damage to the mould.
Mould with gelcoat applied
Then, providing all has gone well, wash inside of mould with soapy water to remove the PVA. Apply two further coats of TR 108 basic release Wax, buffing after each coat, however this time there is no need for the PVA release agent.
Lay-up model boat hull again with gelcoat and the desired specification of chop strand and polyester resin.
Chopped strand matting laid into mould
Excess chop strand can be trimmed successfully round hull edge with a sharp knife when the laminate is at its green stage (Slightly hardened but not fully cured). When dry lightly sand inside. The Hull can be removed as soon as cured solid. You should now only need to wax the mould once every two to three lifts.
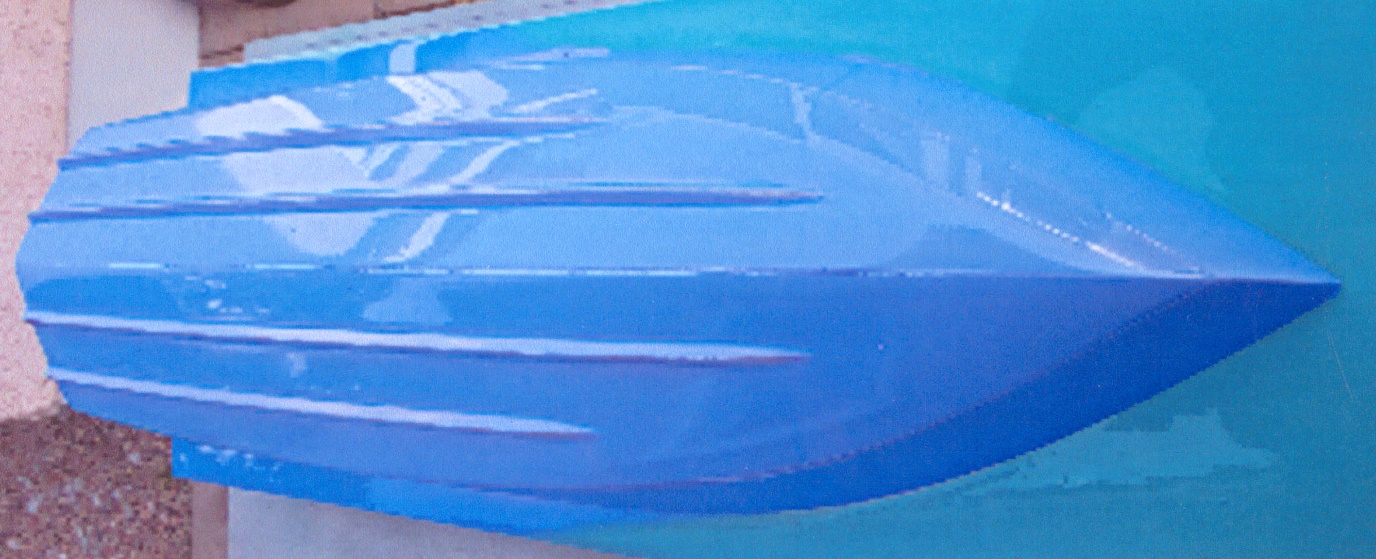
(Below) Some Additional Photos of Mould and Hulls removed from Mould.
The lay-up used for these hulls was 1 layer of gelcoat and 2 layers of 300g chopped strand matting.
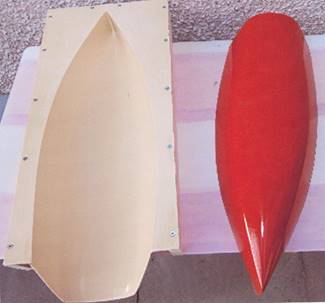
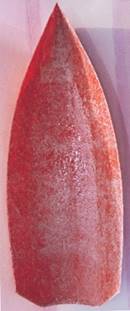
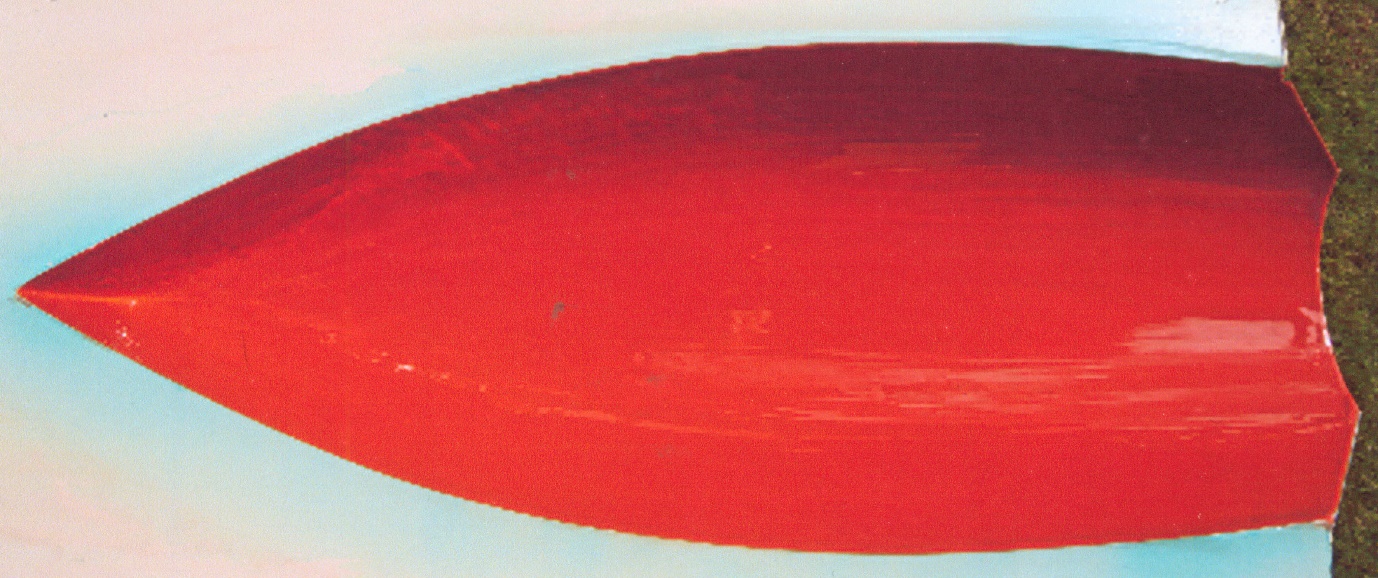
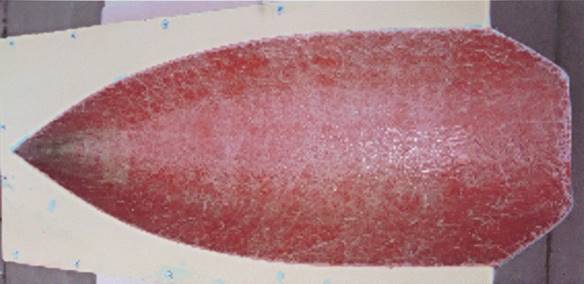
Sail boat hull mould. also hulls made with red gelcoat.
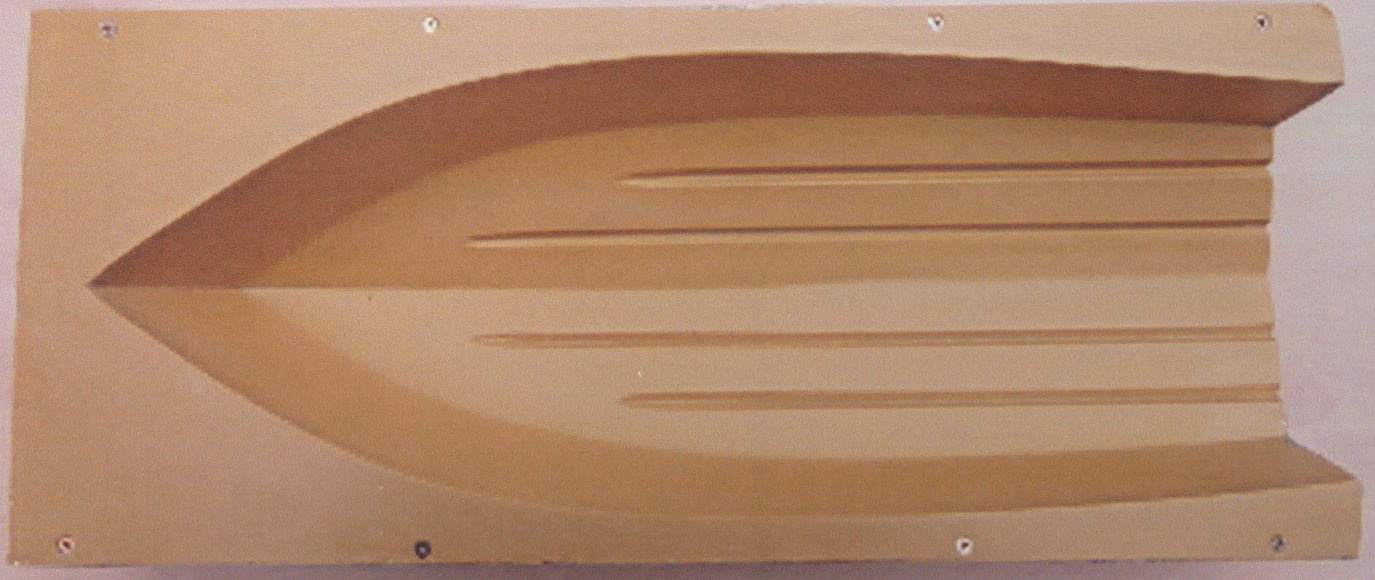
Motor boat hull mould
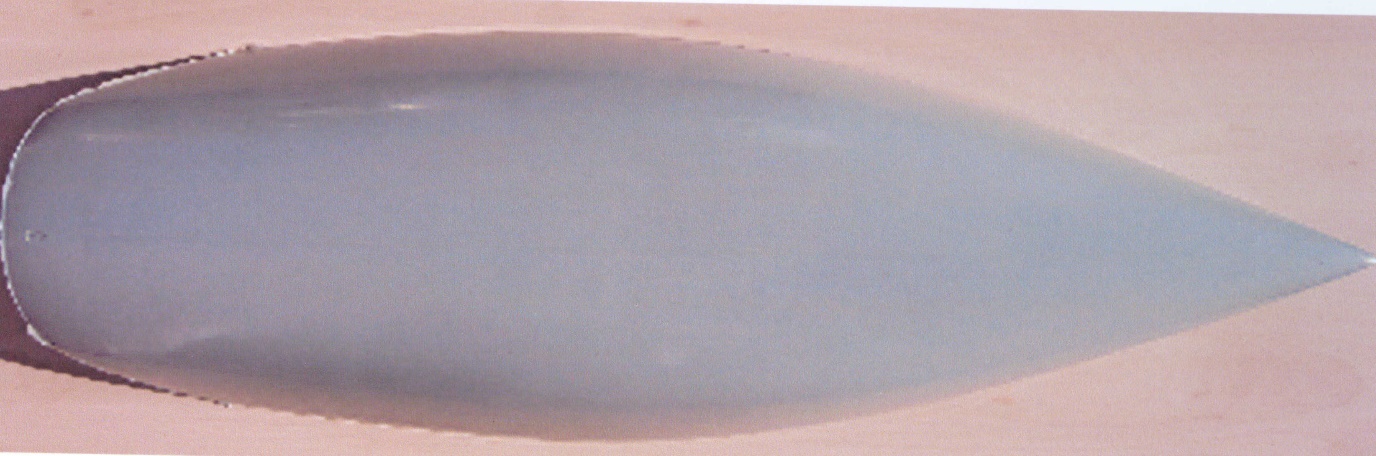
Sail boat hull in grey gelcoat
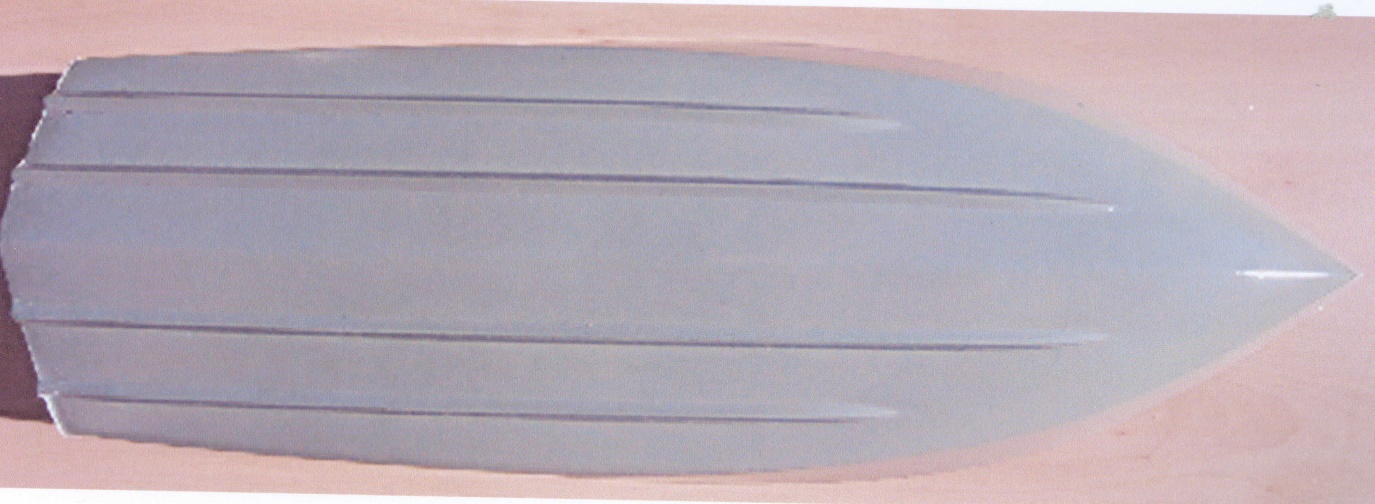
Motor boat hull in grey gelcoat